This activity was designed to learn and understand how to gather imagery by putting a camera sensor on an aerial platform and taking images that can be used later for geospatial analysis. The idea is to take many pictures of the area and use all the pictures to make an image to understand the study area better. This exercise is designed to teach us how to set up a Picavet rig and how to use the cameras appropriately to achieve the desired results. Located below are some pictures I took in preparation for flight.
 |
| Figure 1: Class holding the kite and waiting to prepare it for flight. |
 |
| Figure 2: Dr. Hupy attaching the cameras to the Picavet rig. |
 |
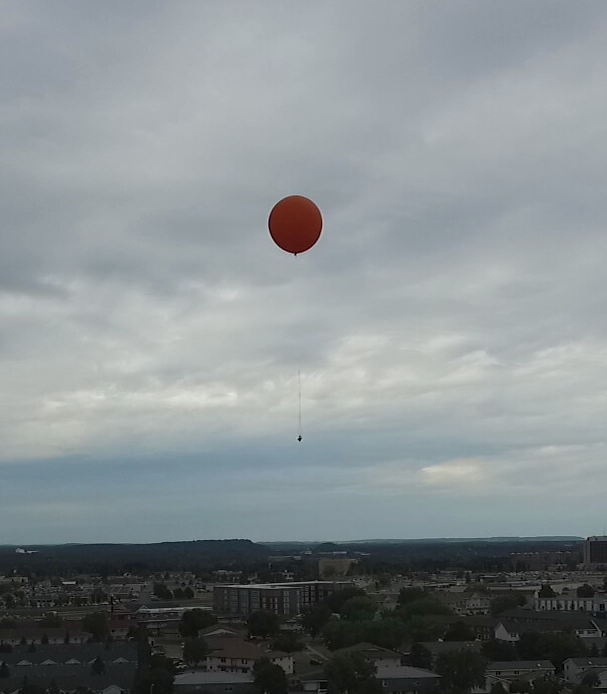
Figure 3: Kite ready for departure with cameras attached.  |
Study Area:
The study area was the soccer field right next to the Indoor Sports Complex parking lot. It is located at 3456 Craig Road in Eau Claire, WI. The study area was quite large and it was the length of the fields combined. The wind was very mild this day, there was little movement to speak of. There were a few rain drops here and there but nothing that caused any difference in the results of what we were trying to achieve. We did end a little early due to rain on the cameras. The temperature was 67 degrees F. This was a good day for the balloon and taking pictures. Too much wind would have made it difficult.
 |
| Figure 5: The image above indicates the study area location. It was on the east side of the Indoor Sports Complex. The area is outlined in green. |
 |
| Figure 6: One of the pictures that shows the kite flying and a gorgeous sky |
.
Methods:
First the needed to attach the kite to the Picavet rig. There are several variants on the way to lace the Picavet system. We attached the cameras to the rig and one of the cameras was altered to be infrared. The Canon Hacker's Development Kit, also known as CHDK is a unique software application developed by enthusiasts that enables extra features for ported Canon Point and Shoot cameras. CHDK can offer features like RAW shooting mode, live RGB histograms, motion-detection, time-lapse, and even games on your existing camera. CHDK is non-permanent and non-destructive and makes no changes to your camera, and turning it off is simply a matter of restarting your camera. It's simple and powerful, it is somewhat like hacking your router firmware but even easier. Using this technology can be very important when needing to alter the state of some pictures or taking more pictures and extends recording time as well. You can customize your on screen display which can include remaining battery life, depth of focus and histograms. It takes the options already available on your camera and gives you way more options including faster shutter speeds, and longer exposure times. This can be very helpful when a camera is so high up and you would like either more pictures or better quality pictures in a short period of time without using more battery life.
After Dr. Hupy explained the camera installation he decided to have the camera take pictures every 5 seconds. We lifted the kite into the air and began our journey up and down the field. As we walked down the field, when we got to the end of the zone in which we were covering we took 10 paces or 30 meters to the left and then began our journey back down the field. I think that using paces may not have been our best options as some people have bigger paces, not sure if it really made a difference or not but at the end of the trip around the field I noticed that the "30" meters looked much more like 20. So in order to do this more accurately perhaps a meter stick or a tape measure would have been more accurate. Just as we were finishing up, it began to rain. We got the survey done without any issues. We got the kite down in time in order for the cameras to not get wet. We pulled the kite in and disassembled the rig and stopped the cameras from taking pictures. I actually walked the whole entire length of the experiment. It was exhausting but the images obtained were pretty amazing.
 |
| Figure 7: Brooks design of the +lacing. The variant only has 1 ring. |
 |
| Figure 8: Note that there are two rings used. |
 |
| Figure 9: This is one of the pictures I took off the class folder, I cropped it a little to fit the page. Great view of the kite and the Picavet rig attached below. |
Discussion:
This outcome of this activity is to give us an idea how to use the equipment properly and to analyze the given situation to see if the results will be what we are looking for. The fact that it was not windy this day will probably lead to better pictures and better overall consistent overlap so we can get a good image. I believe the method of taking 10 paces was not as accurate as it could have been as some people were taller and took bigger steps and the fact that at the end it seemed that people were so eager to get it done due to the sprinkling of rain that they maybe took less steps than they should have. We felt that there was a few times that maybe the paces were about 20 m instead of 30 m. The pictures indicate that the area was well represented.